


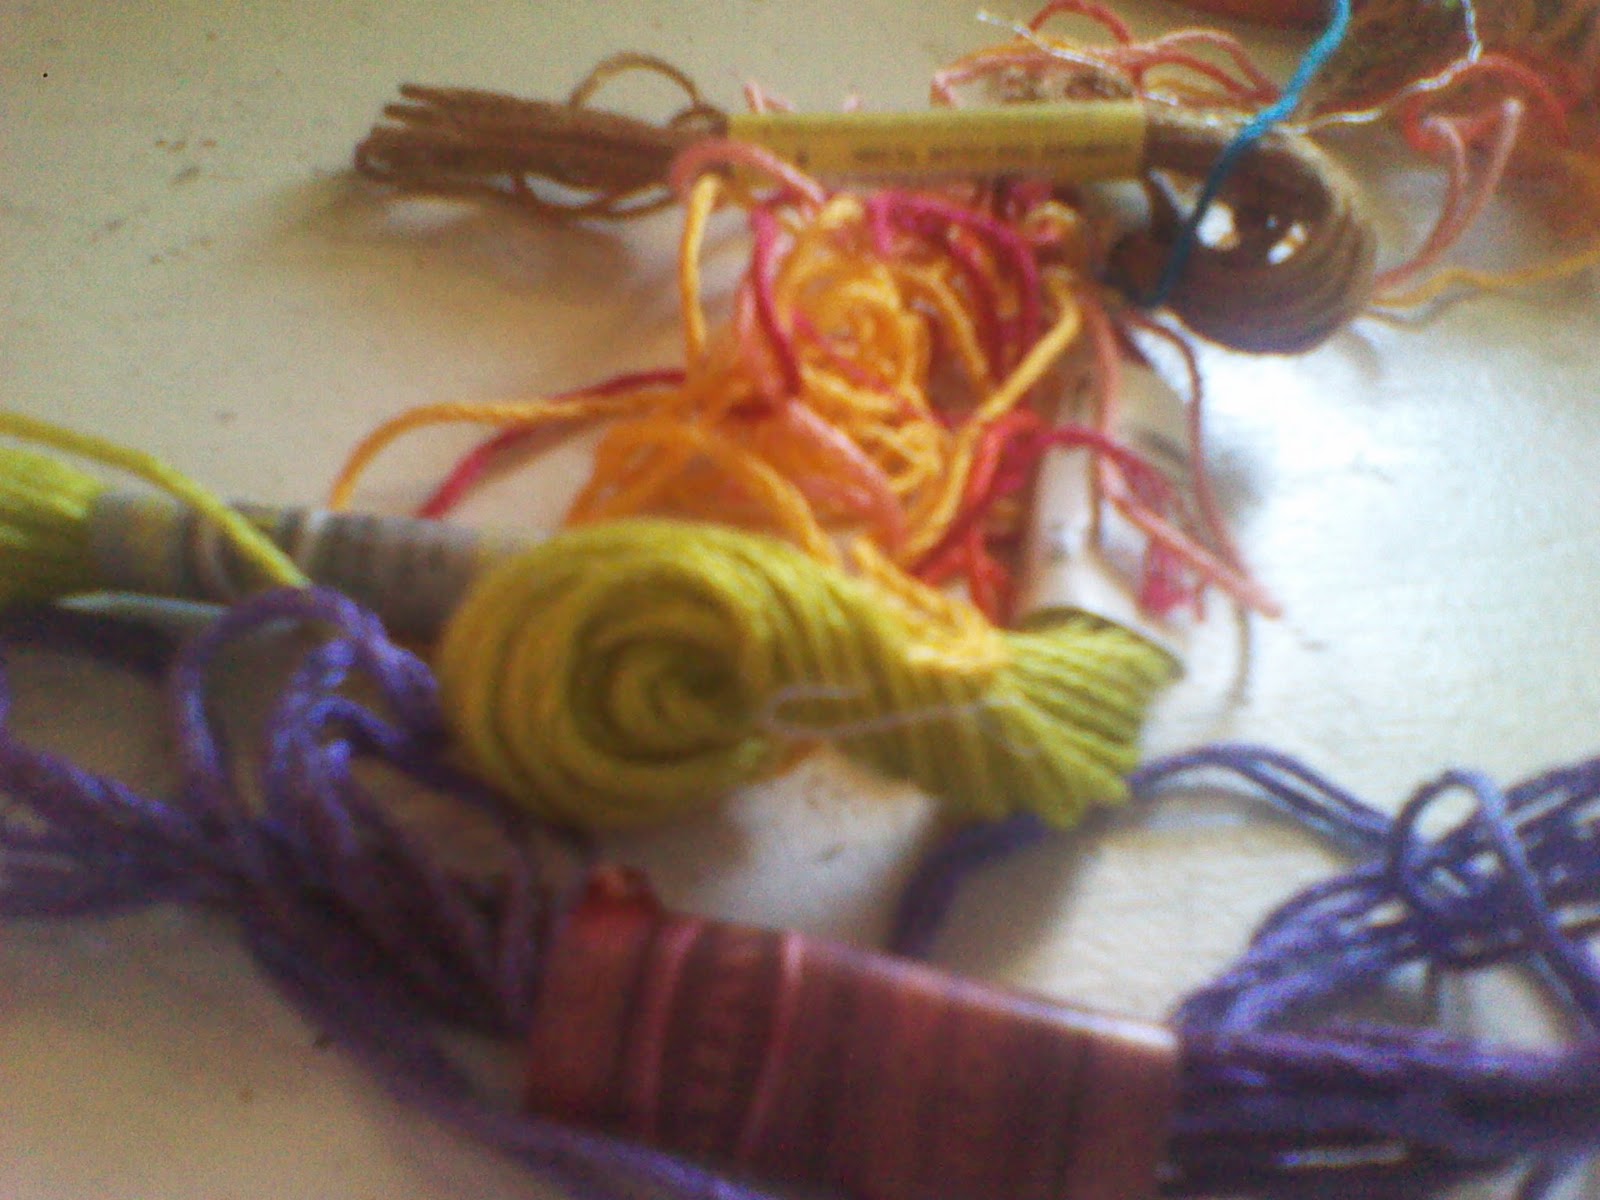
I read on one website to use undyed cotton string. I don't know why it said not to use colored string, and that's what I have so I used it. I figured wax has dye in it, so what's the problem? Dunno. If you know, tell me. :()This is embroidery floss, that's 100% cotton.
 The recipe I found online for making wicks calls for 1 tbsp salt, 3 tbsp boric acid, and 1 cup of water. I had borax, which contains boric acid, so I used 1/3 cup. I dissolved the salt and the borax in the water, and added my embroidery floss scraps, cut into 10 inch long pieces. I stewed them for several hours (the recipe I found said 12). Then I pulled the strings out, hung them up to dry, then braided them and dipped them in wax. That's it, and they burn very well.

Making the candles, I saved up my tin cans for a week, washed them and peeled off the wrappers. I got my assortment of house paint (you can use craft paint, my stock is about gone so I just grabbed what I had) and some decorations. I did fabric cutouts in denim, knit sweater, and cotton, plus some yard materials, such as twigs, grasses and tree bark.
I painted the cans with two coats, but I do recommend priming them first. Then some detail painting with fingernail polish, and then I glued and tied on the fabric and yard materials.


Next, I wrapped a wick around a stick and placed one over the mouth of each can. Poured in my melted wax, and let it set up. Be careful heating the wax, as it is flammable at it's boiling point so heat it slowly and carefully. Once the wax is set, you have your candles. Using recycled wax from my old candle stubs, this project was done using only supplies I had on hand.


No comments:
Post a Comment